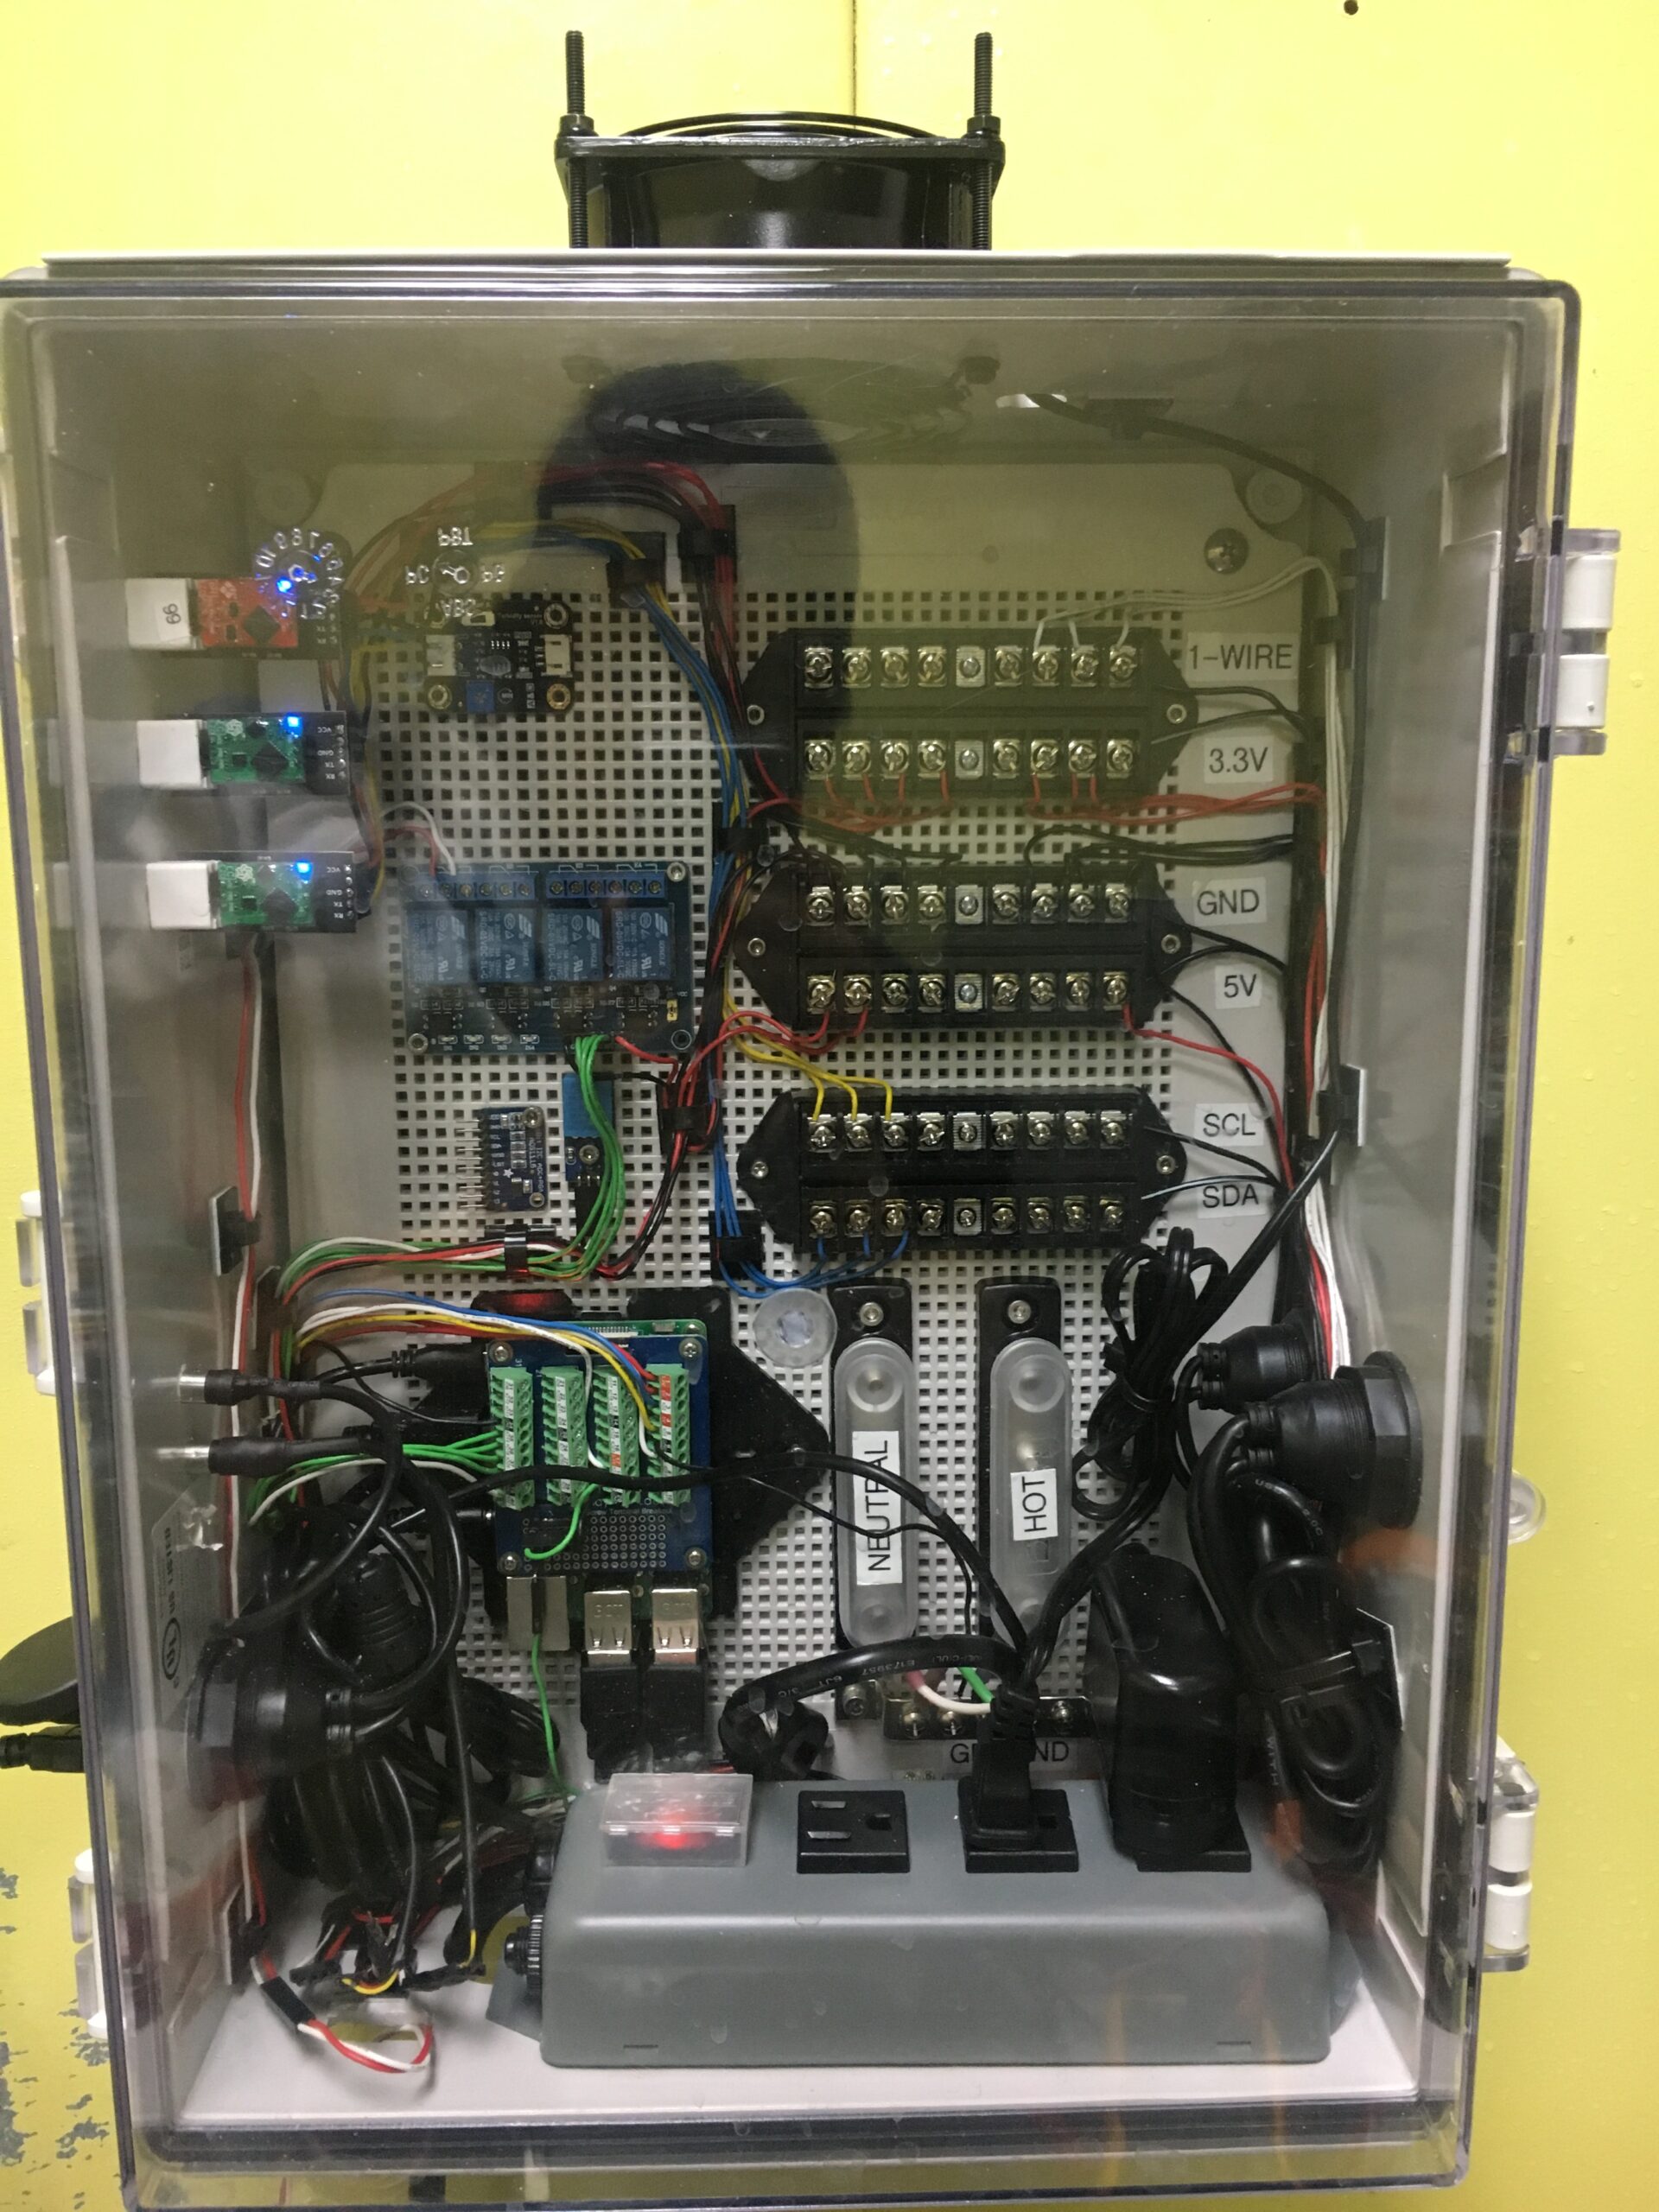
This is a level sensor I built for my Raspberry Pi PLC for Membrane Filtration.
Here is a comparison of a SEIMENS SITRANS Ultrasonic level sensor and my DIY level sensor. I have worked with the SEIMENS SITRANS before, it is a great sensor, and very easy to work with. However it cost around a grand.
 |  | |
| SIEMENS SITRANS Probe LU | HC-SR05 + Nano | |
| Price (USD) | >$1000 | $7.99 for 2 (HC-SR05)
$11.68 for 3 (Elegoo Nano) |
| Power |
24V DC 4 to 20 mA | 4.5V to 5.5V |
| Output |
HART/4-20mA |
I2C, SPI, UART, Serial (USB) Customizable with Additional Hardware |
| Range |
6 m model: 0.25 (250 cm) to 6 m 12 m model: 0.25 (250 cm) to 12 m | 0.02 (2cm) to ≥ 4.5 m |
| Resolution | ≤ 3mm | ~ 2mm |
| Frequency | 54 KHz | 40 KHz |
| Measurement Angle | 10° | <15° |
| Temperature Compensation | Y | Y (w/temperature sensor) |
| Humidity Compensation | Y | Y (w/humidity sensor) |
| Signal Filtering | Y | Y |
| Enclosure |
Electronic : PBT, conduit entry, ingress protrection Transducer: ETFE or PVDF | None (custom made) |
| Process Connections |
Threaded: 2″ NPT,BSP or G/PF Flange: 3″ Universal | None (custom made) |
| Built in Field Programmer | Y | N |
| Looks Professional | Y | N |
| Likelihood to Get Stolen | High | Doesn’t Matter Cost <$10 |
| Warranty | 12 Months | Doesn’t Matter Cost <$10 |
As you can see both sensors have their pros and cons. But for small scale/internal or personal applications the HC-SRF05 is the best choice.
One great feature that the HC-SRF05 is that it has a minimum distance of around 3 cm which is great for small tanks. The SIEMENS has a minimum distance of 10 inches on paper and ships with a default distance of 12 inches (0.3m). Even in an industrial setting this is quite annoying. I installed this probe on a 1000 gallon tank and the maximum volume was decreased to around 900 gallons.
What you will need.
 | HC-SRF05 Ultrasonic Module |
 | Arduino Nano or Equivilent w/no Headers |
 | Micro USB Cable |
 | 2″ Schedule 80 PVC Union |
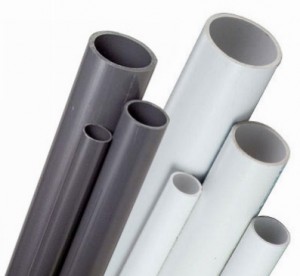 | 2″ Schedule 80 PVC Pipe |
Wiring
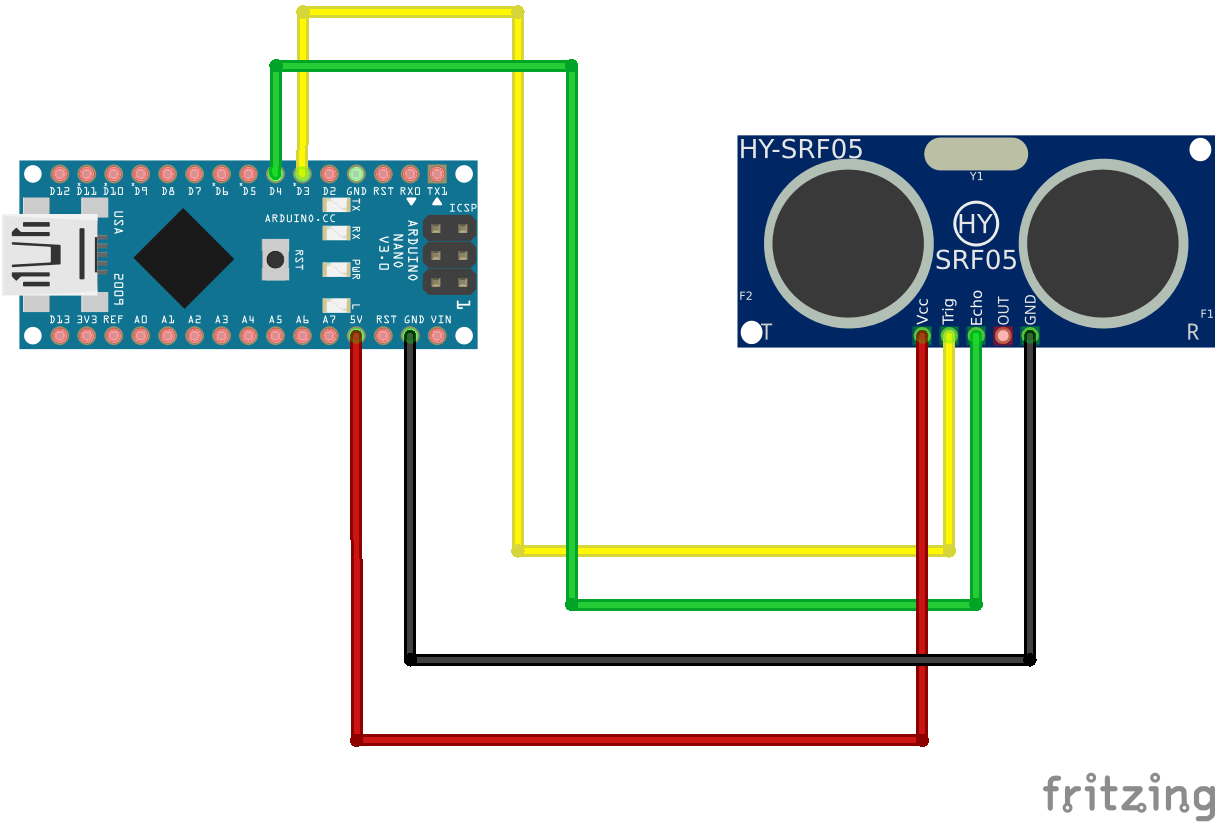
Code
| #include <NewPing.h> | |
| #define TRIGGER_PIN 3 | |
| #define ECHO_PIN 4 | |
| #define MAX_DISTANCE 200 | |
| NewPing sonar(TRIGGER_PIN, ECHO_PIN, MAX_DISTANCE); | |
| void setup() { | |
| Serial.begin(115200); | |
| } | |
| void loop() { | |
| delay(50); | |
| Serial.println((0.034027/2)*sonar.ping_median(10)); | |
| } |
The code is super simple and uses the NewPing Library. This particular code does not compensate for temperature and returns the median of 10 measurements.
I found that adding temperature compensation just added an additional source of “noise” in my measurements. However while writing this post I stumbled upon the US-100 which has automatic temperature compensation and can output distance via serial! Which pretty much eliminates the need for the nano. I will look into this sensor later.
Feel free to change the pins, max distance, and baud rate to your liking.
Assembly
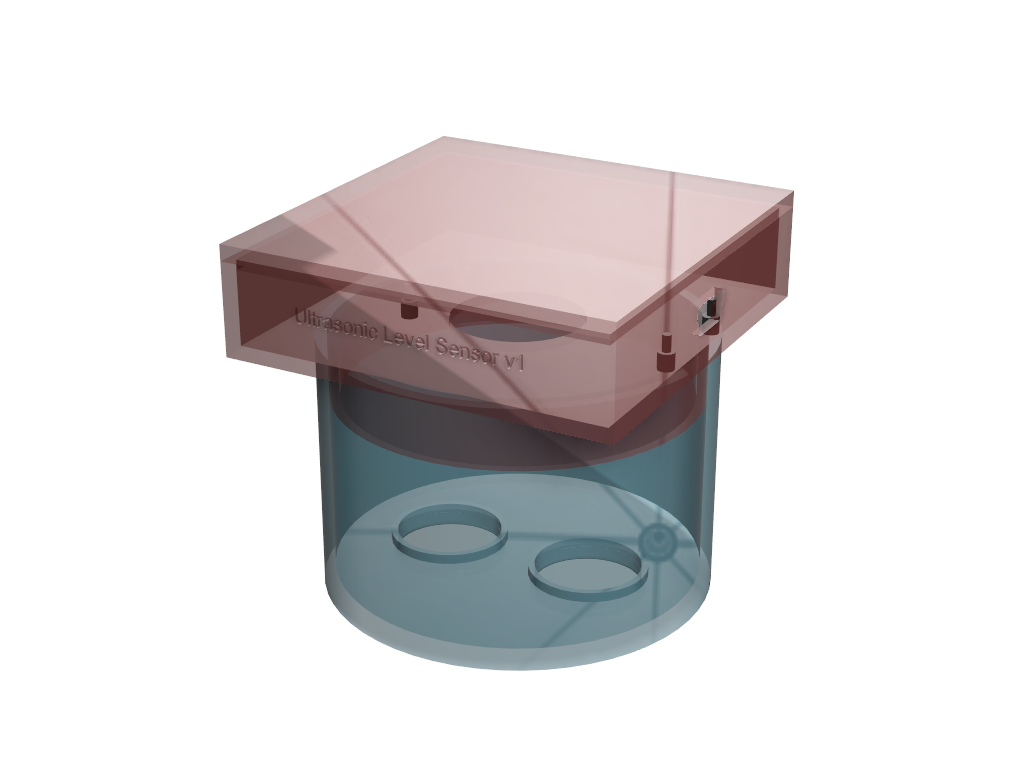
If you are going to use the sensor with a 2″ PVC still well you can print out my sensor and nano housing that I uploaded to thingiverse. The housing comes in 3 parts. The ultrasonic sensor housing, the nano housing and the lid for the nano housing. All parts are designed fit snugly.
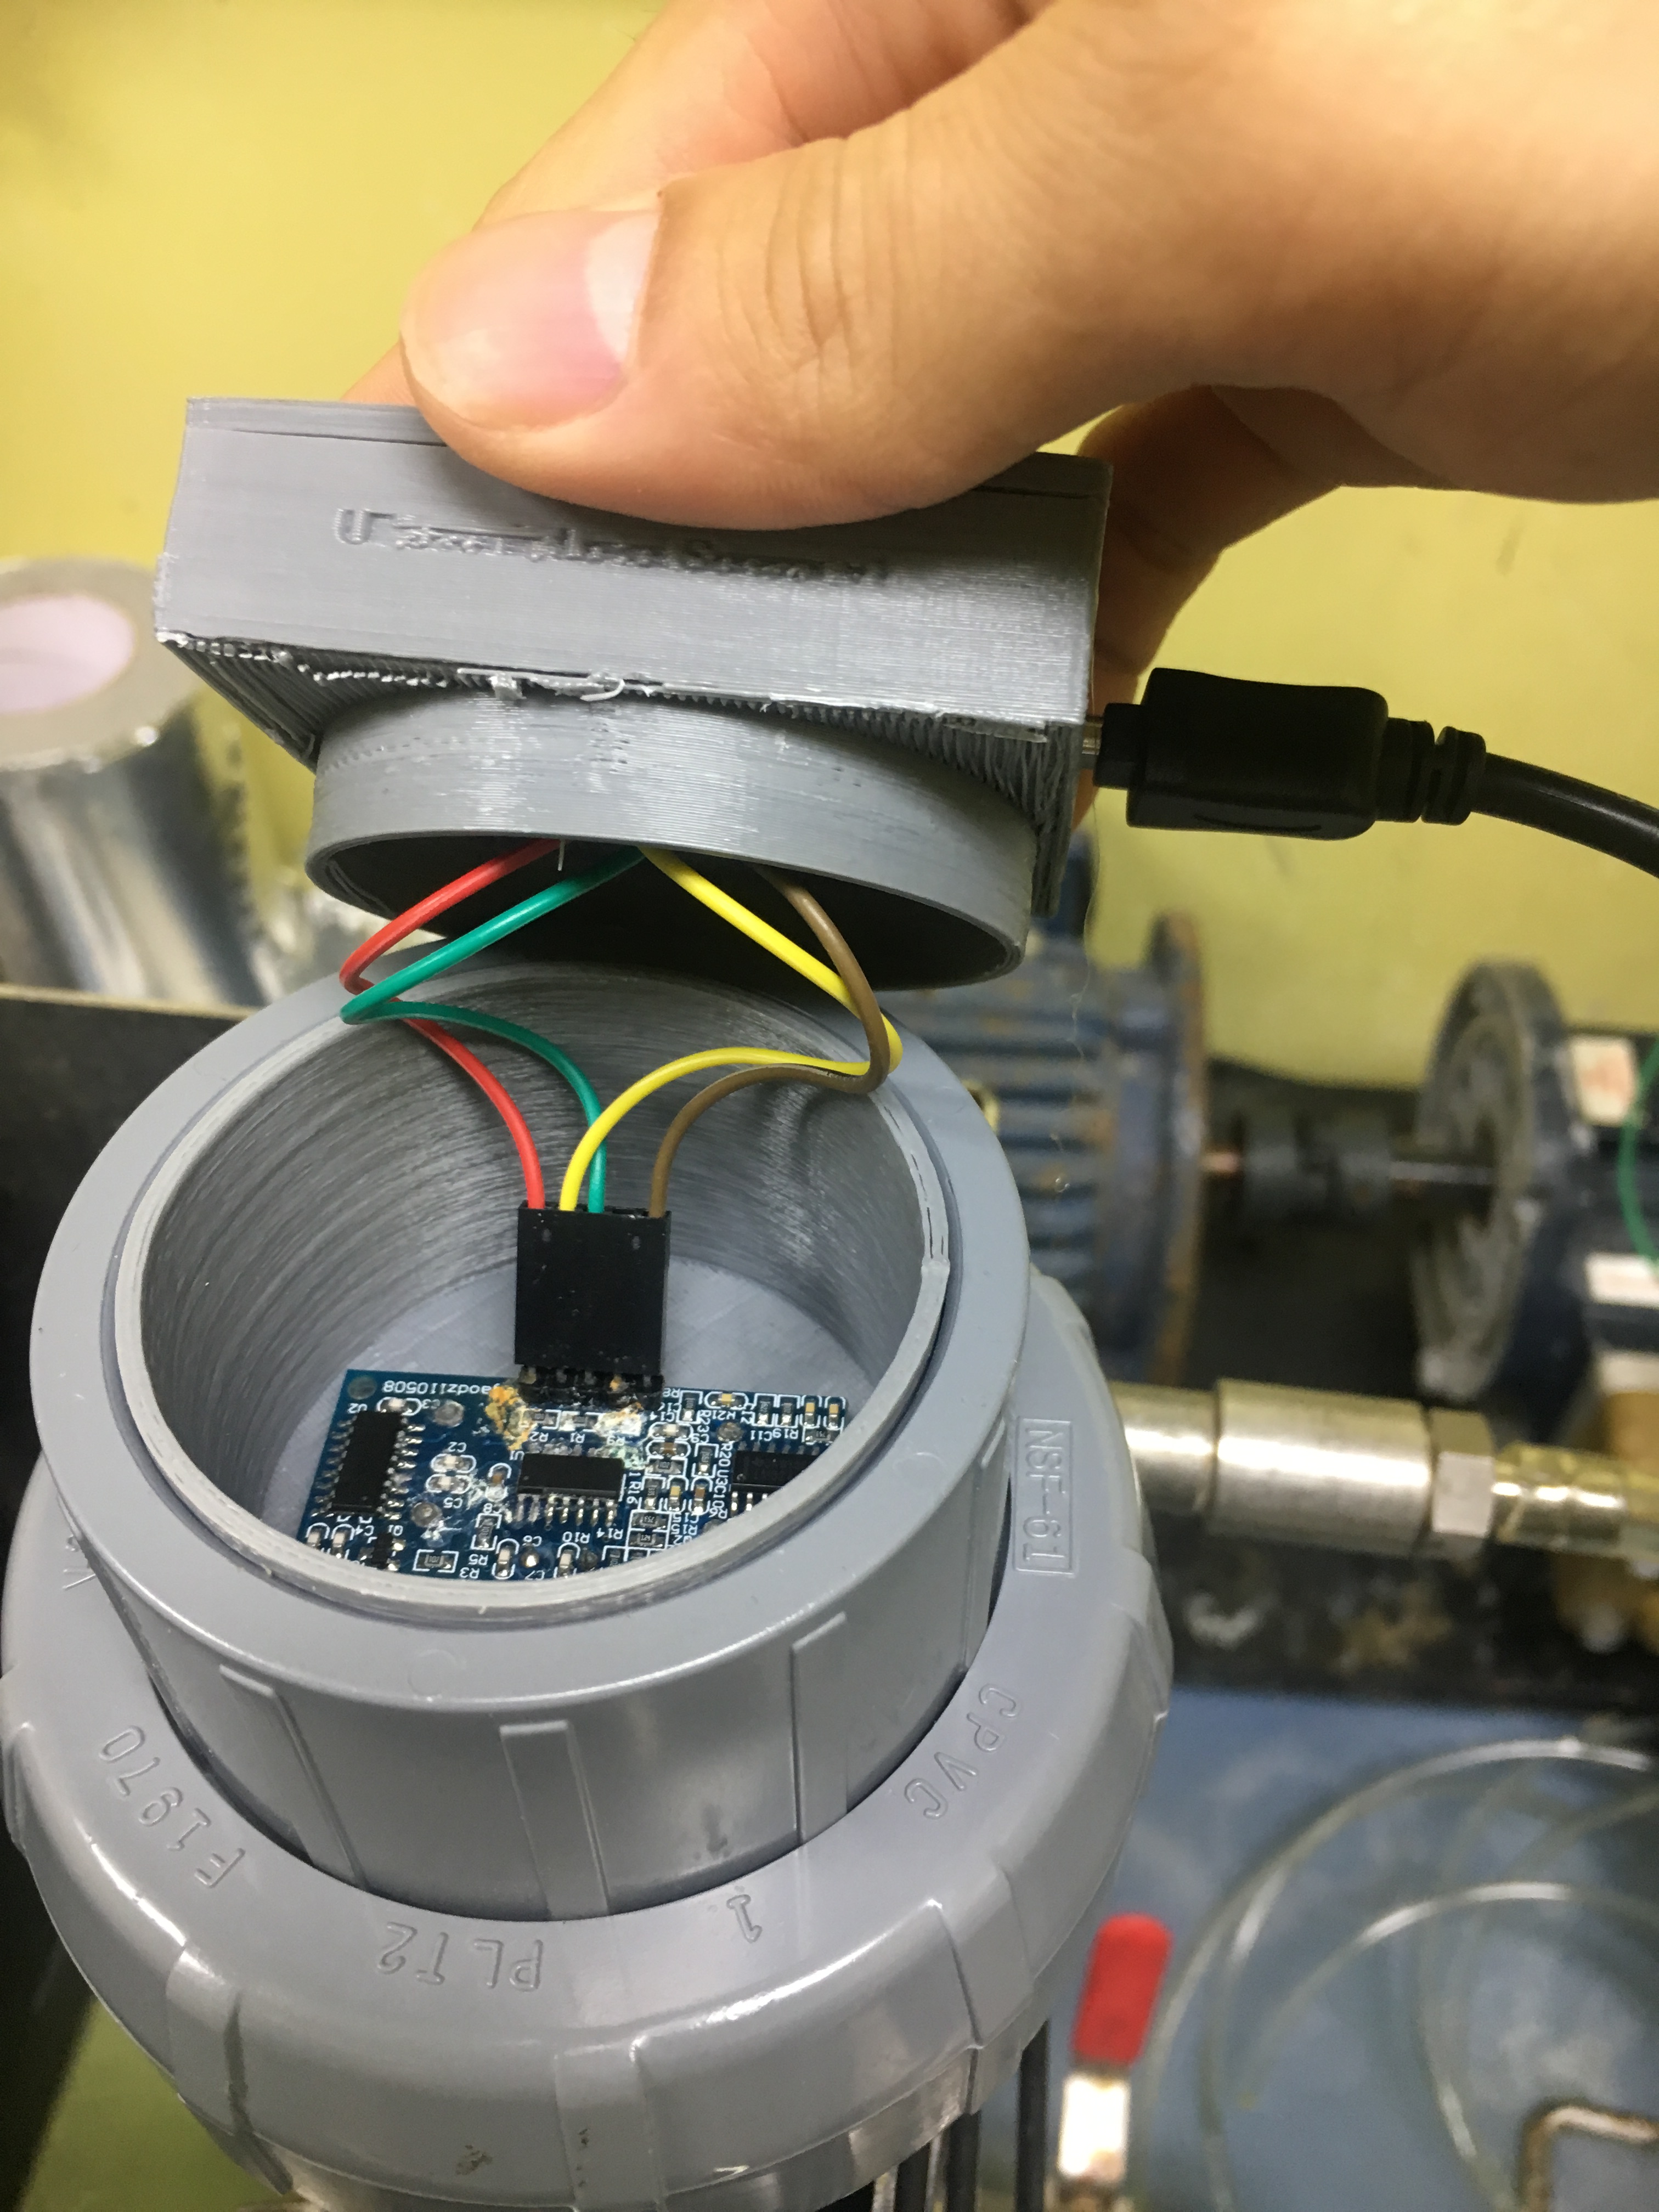
First place the housing into the PVC union and then your HC-SRF05 into the housing and figure out how you will make the connection between the sensor and nano. I used a 5 pin Dupont connector so I can change out the sensor easily.
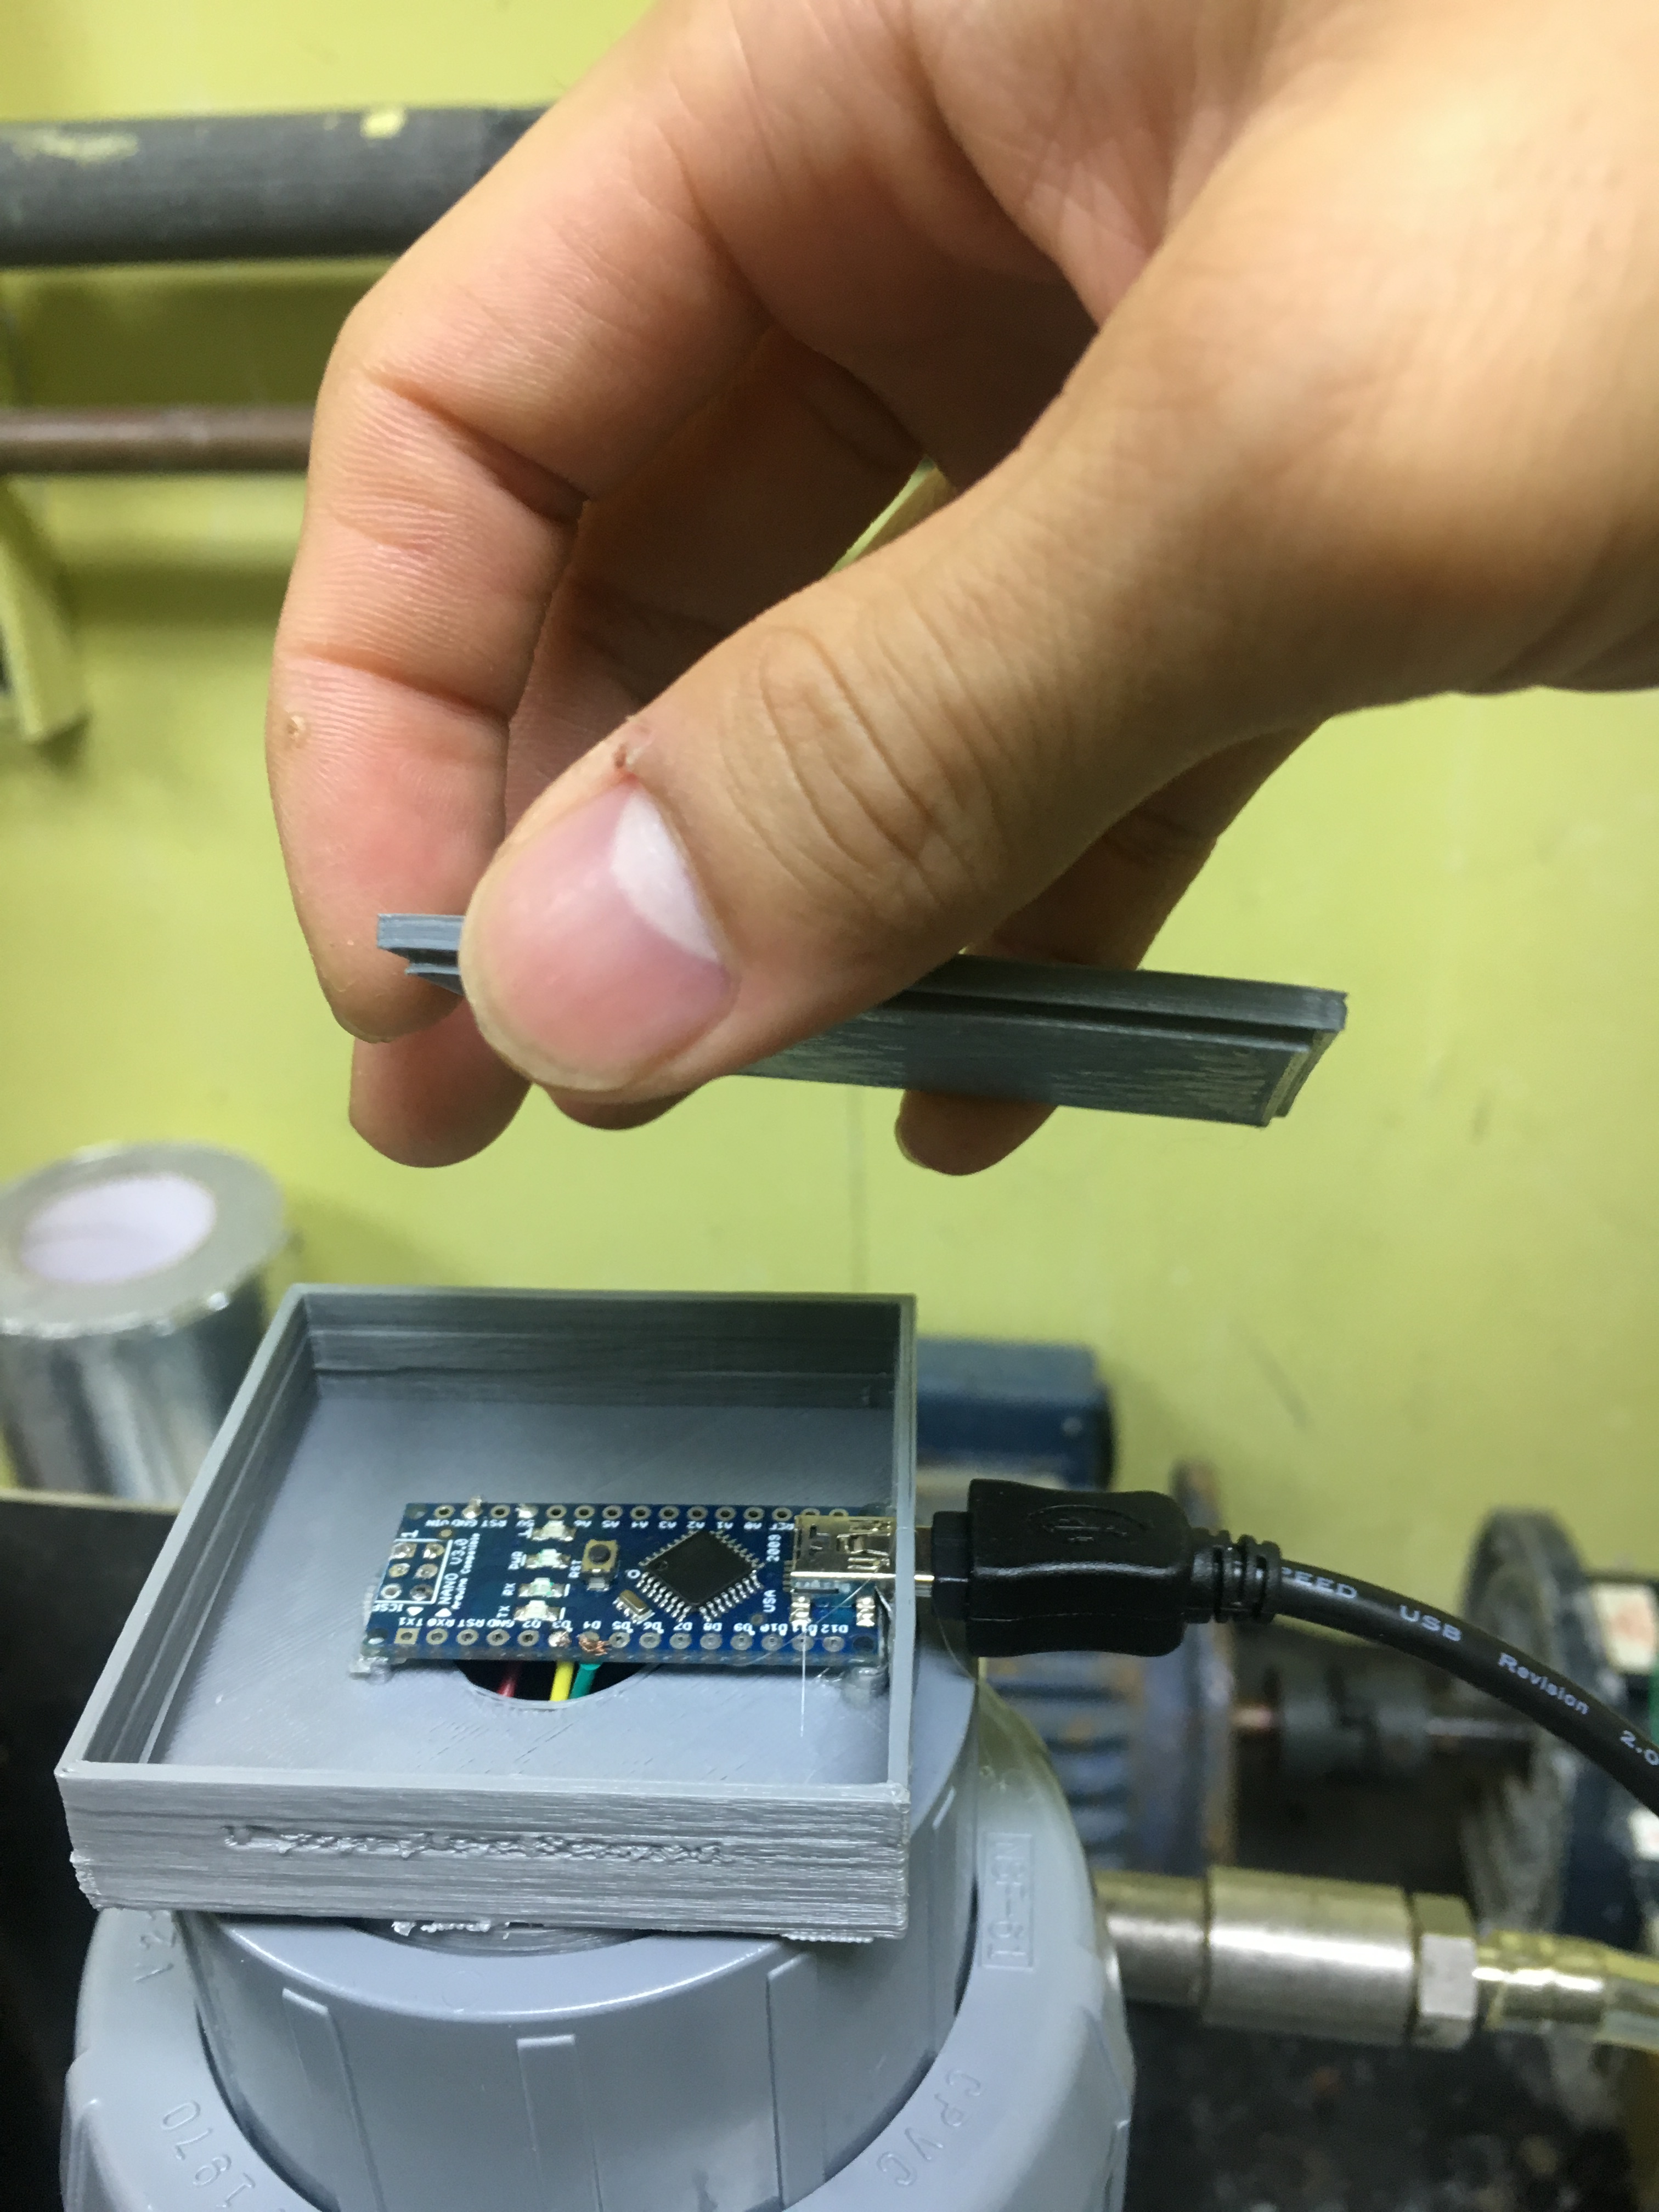
Next solder the wires from your sensor to the nano. The nano holder is designed to hold the nano by its 4 mounting holes. A flaw with my design is the pins by the mini USB plug block the nano from seating the mini USB plug that is slightly recessed into the case. You can just break off these two pins.
Some hot glue can be added to ensure a no movement of the nano.
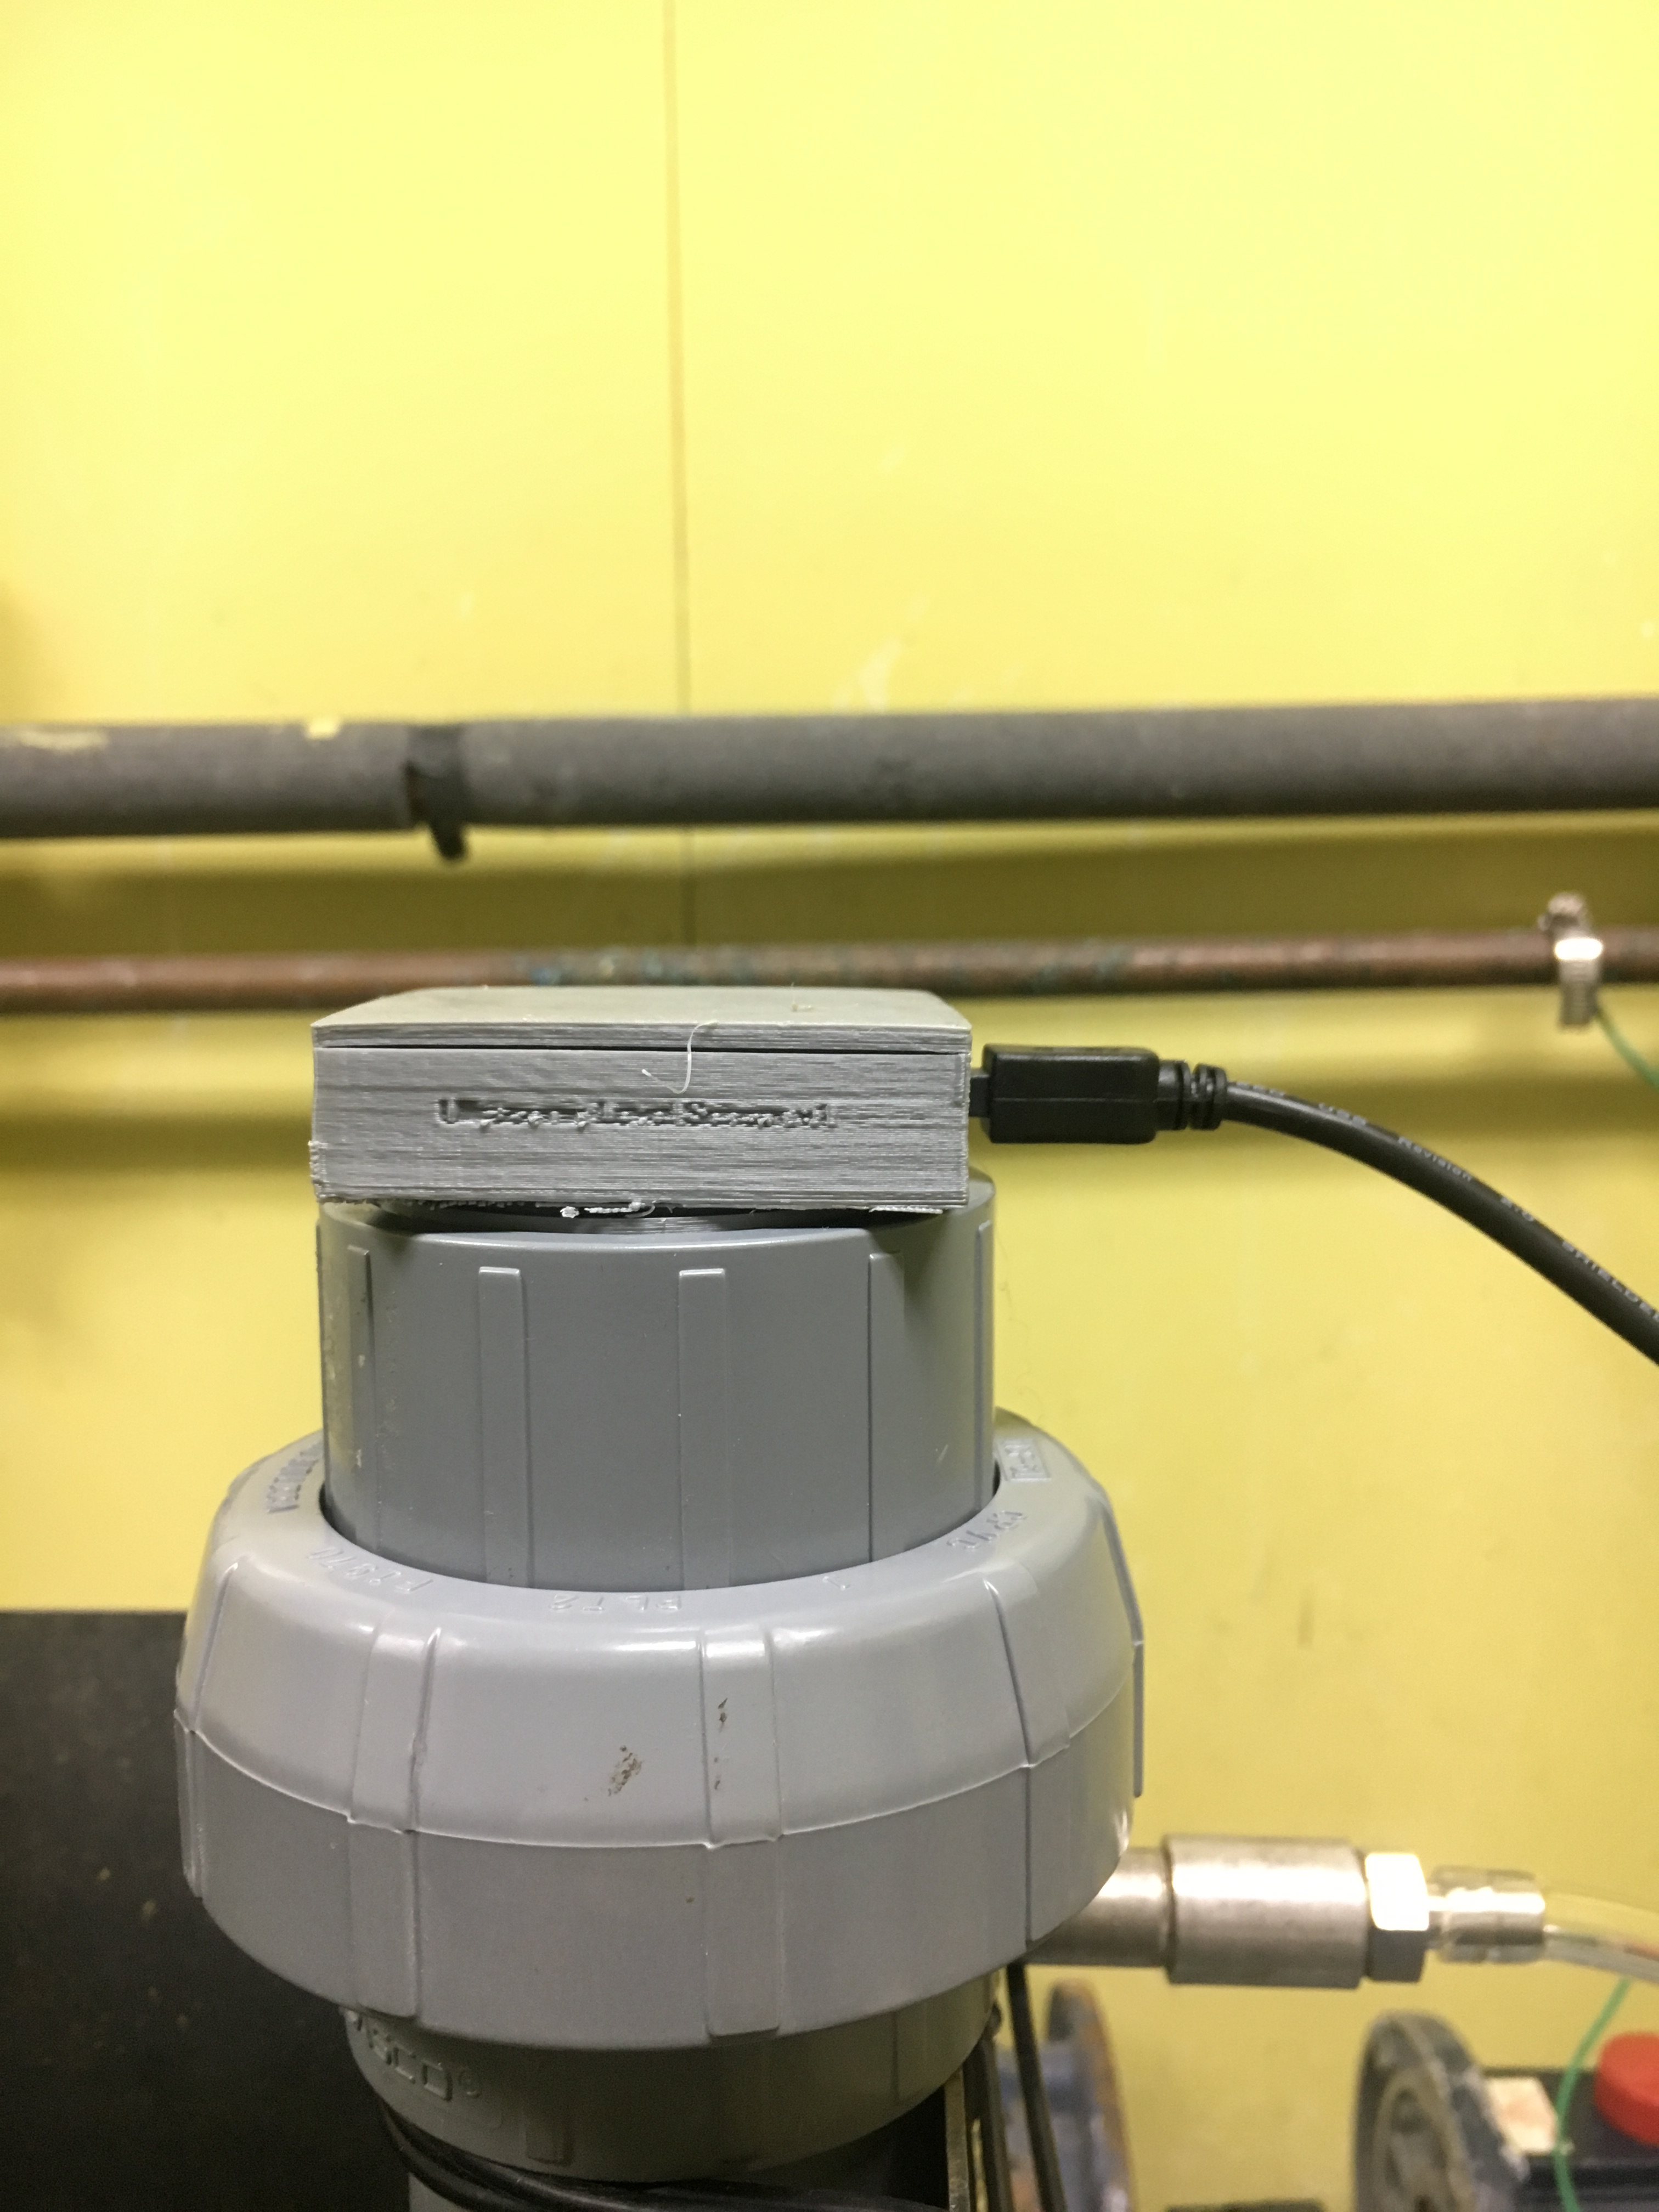
There you go, that is the finished sensor. Please ignore the horrible 3d print quality. You can now connect the usb to any computer or Raspberry Pi in my case and get distance readings via serial. To have volume, level, or flow readings you can create equations for the vessel you are using and either have them be calculated by the nano or the computer.
This Post Has 3 Comments